
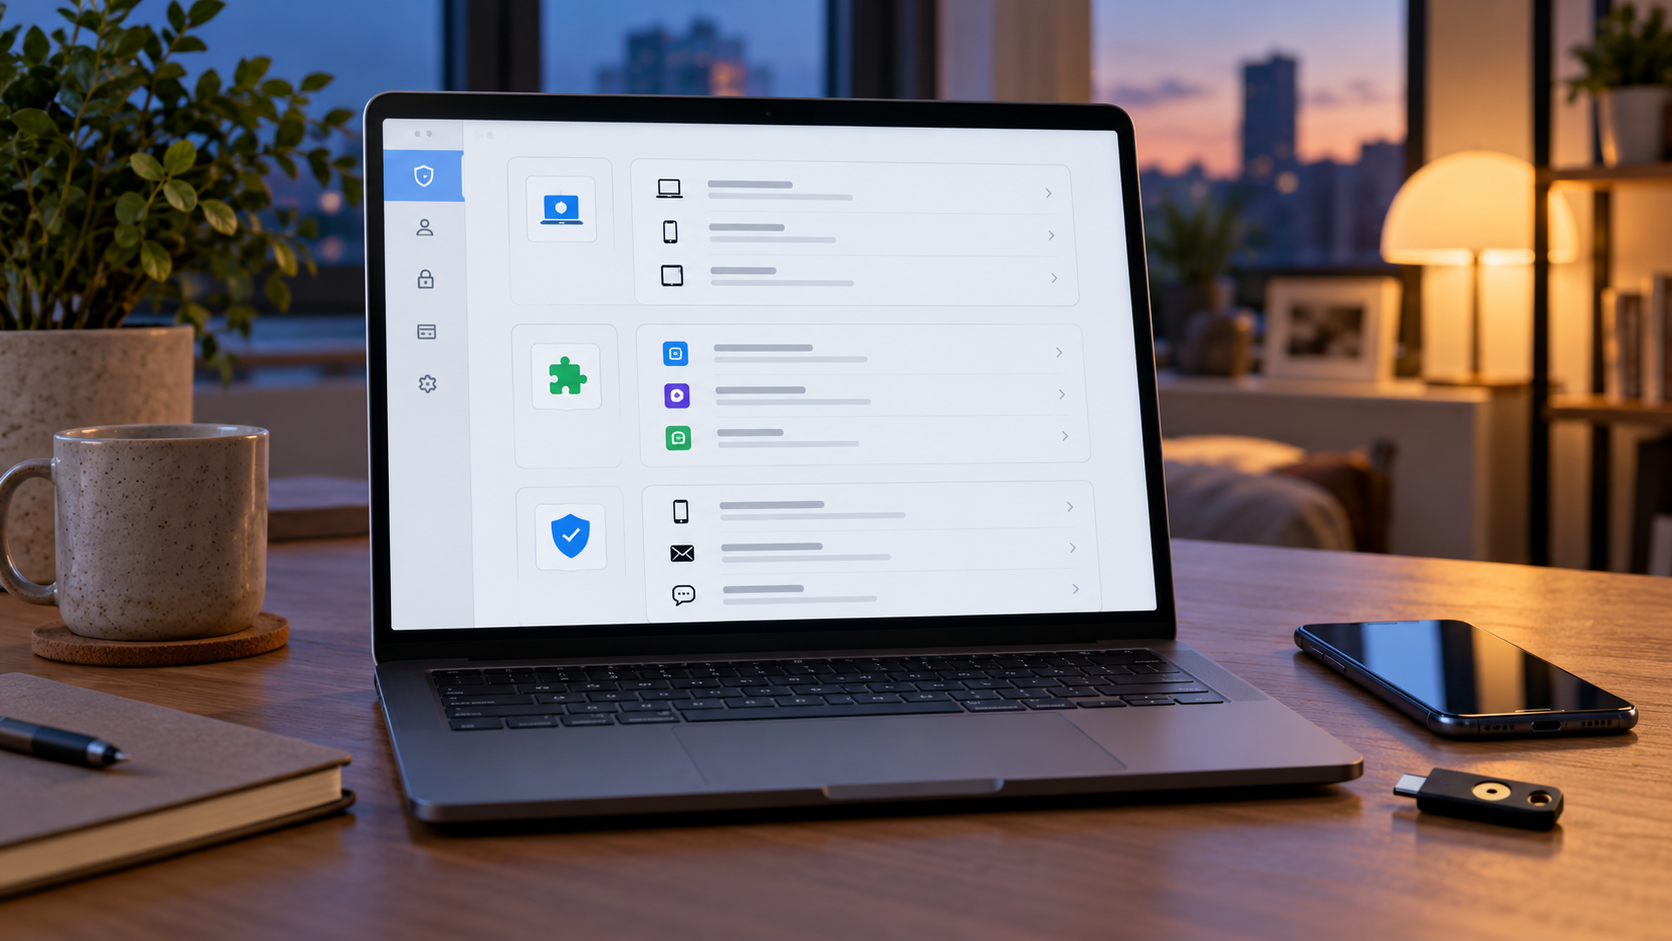
An email account can remain exposed even when its password has not been stolen. An old laptop may still be signed in, a forgotten app may retain permission to read account data, or an outdated recovery address may send verification messages somewhere you no longer control. Because Gmail is often the recovery channel for banking, shopping, social media and work accounts, one overlooked connection can affect far more than the inbox.
Google highlighted this problem on October 30, 2026 with a short security checklist: review signed-in devices, remove old third-party access and confirm recovery information. The checklist takes only a few minutes when everything looks familiar, but it also provides a practical map for a deeper audit if a device, session or app does not belong.
This guide explains what each screen means, what to remove, what not to delete by accident and what to do when activity is unfamiliar. The goal is not to disconnect every useful service. It is to make every remaining connection intentional, current and recoverable.
The two-minute Gmail security check at a glance
- Open Google Security Checkup from a trusted bookmark or by typing the Google Account address yourself.
- Review every device and browser session. Sign out of anything lost, sold, shared or unfamiliar.
- Inspect linked apps and the exact Google data each app can access. Remove access that is no longer needed.
- Confirm that the recovery phone and recovery email still belong to you and can receive messages.
- Review 2-Step Verification, passkeys and backup methods so a lost phone does not lock you out.
- If an item is unfamiliar, treat it as an incident: secure the account first, then investigate.
Step 1: Review every signed-in device and session
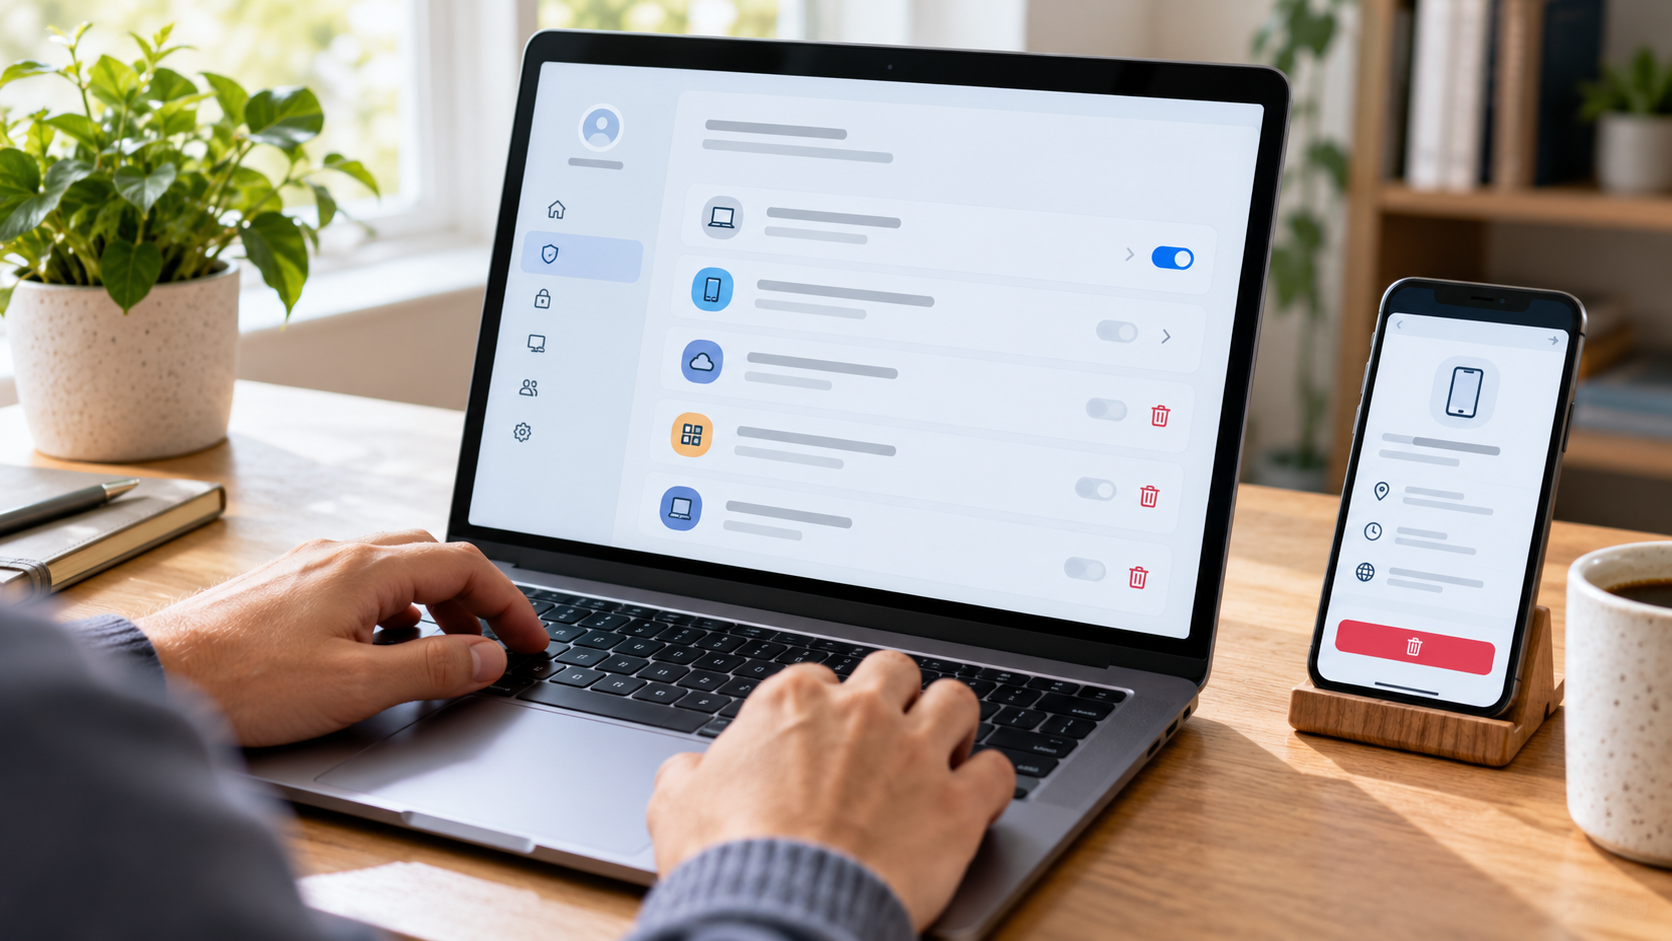
In Google Account, open Security & sign-in, find Your devices and choose Manage all devices. Google shows devices where the account is currently signed in or has been used during the last several weeks. Select each entry to review the device type, recent activity and available sign-out control.
Start with devices that are clearly obsolete: a phone you traded in, a family computer you no longer use, a hotel or library computer, an old work laptop, or a tablet that has been lost. Sign out of every session tied to a device you no longer control. If the same device name appears more than once, open each session rather than assuming the duplicates are harmless.
Google explains that the displayed time can reflect background synchronization, not only a moment when someone actively opened Gmail. A recent timestamp is therefore not proof of misuse. Location can also be approximate because mobile carriers, VPNs and internet providers may route traffic through a different city. Device type, browser, timing and location should be evaluated together.
Why one device can show several sessions
A session is a period when a browser, app or service is signed in. One physical computer can create separate sessions after a password re-entry, a new browser sign-in, an incognito session or an app authorization. Multiple sessions are not automatically a breach, but Google recommends signing out when you cannot confidently connect every session to your own use.
Do not rely on the device list as a permanent archive. It is a recent-access view, and a device marked Signed out no longer has an active Google session even though the historical entry may remain visible for a period. The important question is whether every currently active session is expected.
Step 2: Remove old third-party app access
Next, open the linked-apps area of Google Account. Google separates several kinds of connections: Sign in with Google, apps that can access selected Google Account data, and accounts linked so Google can interact with another service. Open each app to see the connection type and the information involved.
Remove access when the app is no longer installed, the service was used for a one-time project, the developer is unfamiliar, or the requested permission is broader than the app still needs. Pay special attention to apps with Gmail, Drive, Calendar, Contacts or full-account permissions. A familiar app name is not enough; confirm that the developer and purpose match what you remember authorizing.
Permission cleanup can break a legitimate workflow. A calendar tool may stop syncing, a scanner may no longer save files to Drive, or a desktop email client may stop receiving mail. Before removing a business-critical connection, record what it does and make sure you can reconnect through the service’s official settings if necessary.
Removing access does not necessarily erase app data
Google’s help pages distinguish disconnecting an app from deleting information stored by that app. Removing Sign in with Google or account access stops the connection, but the third-party company may still retain an account and previously copied data under its own policies. If you want the service deleted entirely, sign in to the service directly, export anything you need and use its account-deletion process as well.
The reverse also matters: deleting an app from a phone does not automatically revoke its cloud permissions. Permission cleanup must happen in Google Account even when the local app is gone.
Step 3: Confirm recovery phone and email
Recovery information helps Google warn you about suspicious activity, block unauthorized use and restore access when you cannot sign in. Confirm that the recovery phone is a number you personally control, use regularly and can access while traveling. Google advises against using a Google Voice number as the recovery phone because losing access to the same Google Account could also block the verification code needed to recover it.
The recovery email should be an address you use regularly but not the same address used to sign in. Remove an old employer address, an expired school account, or a family member’s inbox unless that arrangement is deliberate and still trusted. Google notes that changes to a recovery phone can take up to seven days to take effect, so do not wait for an emergency to update it.
Do not publish or share recovery details merely to prove that the audit was completed. A security checklist should record the date reviewed and whether the setting is current, not the phone number, recovery address, backup codes or key identifiers themselves.
Strengthen sign-in with passkeys or a security key
The access audit identifies old doors; stronger sign-in protection makes the remaining door harder to abuse. Google recommends passkeys as a phishing-resistant alternative to passwords and describes physical security keys as its strongest 2-Step Verification method. A passkey can use the screen lock, fingerprint or face verification on a trusted device. A hardware key keeps the sign-in credential on a separate physical device.
One compatible option is the Yubico YubiKey 5C NFC (ASIN B08DHL1YDL). It supports USB-C and NFC, and Yubico lists Google among compatible services. Confirm that its connector and authentication methods fit every device you plan to use, register a backup method before relying on it, and store a second key separately if the account is important enough that one lost key would create a crisis.
Affiliate disclosure: ReaderSpice may earn a commission from qualifying Amazon purchases made through the link above, at no additional cost to you.
Do not remove a working recovery method until its replacement has been tested. Security is not improved if a cleaner settings page leaves the legitimate owner unable to sign in.
What to do if a device, app or activity is unfamiliar
- Use Google’s unfamiliar-activity prompt or account-security flow and mark the activity as not yours.
- Change the Google Account password from a trusted, updated device. Do not reuse a password from another service.
- Sign out unfamiliar devices and revoke suspicious app access.
- Review recovery phone, recovery email, passkeys, 2-Step Verification methods and backup codes for changes you did not make.
- Check Gmail forwarding, filters, delegated access and sent mail for rules or messages you did not create.
- Change passwords on other important accounts that reused the old password or depend on Gmail for recovery.
- For a work or school account, contact the administrator or security team because organization policy may control some settings.
Google says that reporting an unrecognized sign-in can sign the account out on other devices and add an extra verification step for future unfamiliar sign-ins. That protective action can be disruptive, but it is safer than leaving a questionable session active while trying to identify it.
A quarterly Gmail security checklist
- Review devices and sessions after travel, a device sale, a repair or a phone replacement.
- Remove one-time apps and services after the project that required them ends.
- Confirm recovery information at least quarterly and before changing mobile carriers or employers.
- Check that passkeys, security keys and 2-Step Verification methods still work on current devices.
- Keep backup codes offline in a protected location; never store them in the same inbox they protect.
- Run Google Security Checkup again after any suspicious alert, unexpected password reset or unusual sent message.
A recurring review is more useful than a one-time purge because account access changes quietly. A new phone, a photo-printing app, a temporary work tool or a shared television can each create a connection that remains long after its original purpose disappears.
The bottom line
Google’s two-minute checklist is short because it focuses on the three access paths most people forget: devices, linked apps and recovery information. The quick version is enough when every entry is current. When something is unfamiliar, the same screens become the starting point for incident response.
Open Security Checkup from a trusted route, verify each active session, keep only necessary app permissions and make sure recovery methods belong to you. Then strengthen sign-in with a passkey, hardware security key or another well-managed 2-Step Verification method. The safest Gmail account is not the one with the most settings enabled; it is the one where every access path has a known owner and purpose.
Sources
Google Blog – See who has access to your Gmail inbox in 2 minutes
Google Account Help – Make your account more secure
Google Account Help – See devices with account access
Google Account Help – Manage links between your Google Account and other apps
Google Account Help – Set up recovery options
Google Account Help – Protect your account if there is unfamiliar activity
Amazon – Yubico YubiKey 5C NFC, ASIN B08DHL1YDL
Inline image: Google Account device and session review
Inline image alt text: Person reviewing signed-in devices and account sessions on a laptop and phone